
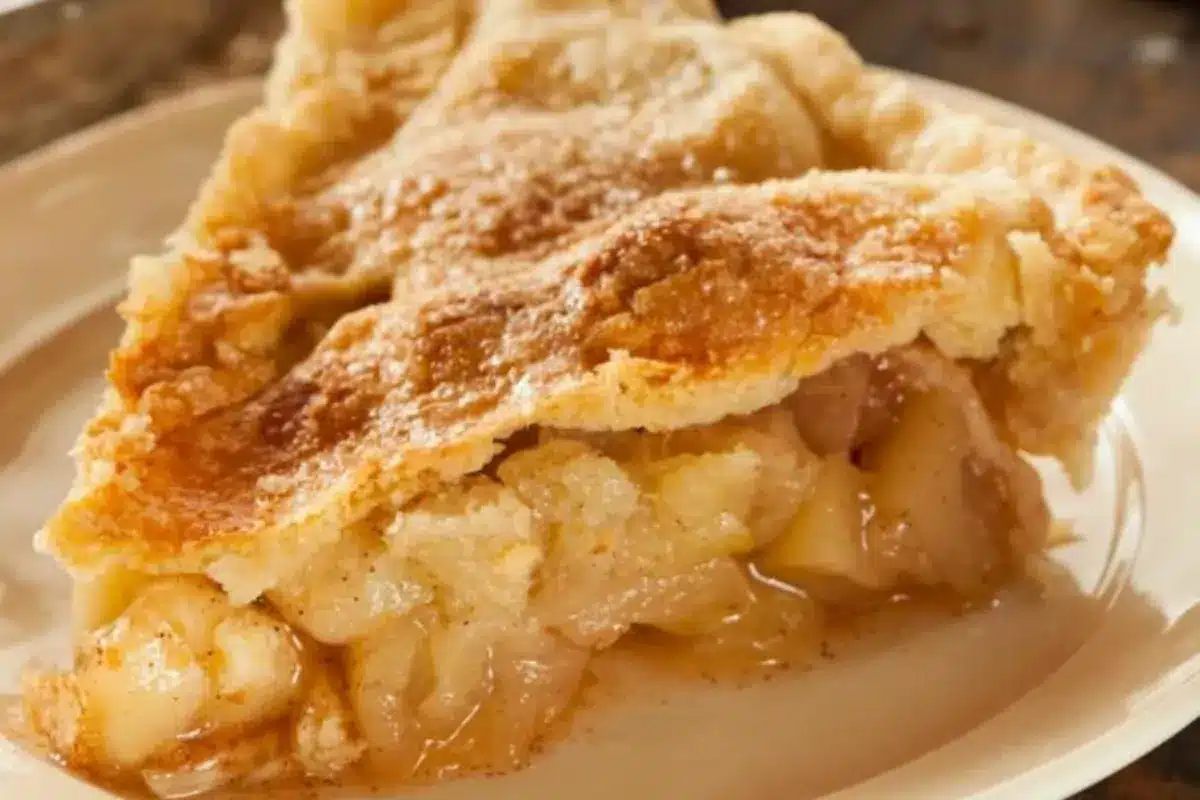
Homemade apple pie brings together tender fruit, warm cinnamon, and a golden double crust. This version starts with uncooked sliced apples, so you can assemble the filling in one bowl while the oven heats. A little flour helps bind the juices, and small pieces of butter sit over the fruit before the top pastry goes on.
The most useful skills are choosing apples that keep some shape, cutting even slices, and recognizing when the filling is ready. You will also find the optional egg wash listed explicitly below, along with a clear two-temperature baking sequence. Give the pie time to cool before cutting if you want tidy slices rather than a loose spoon dessert.
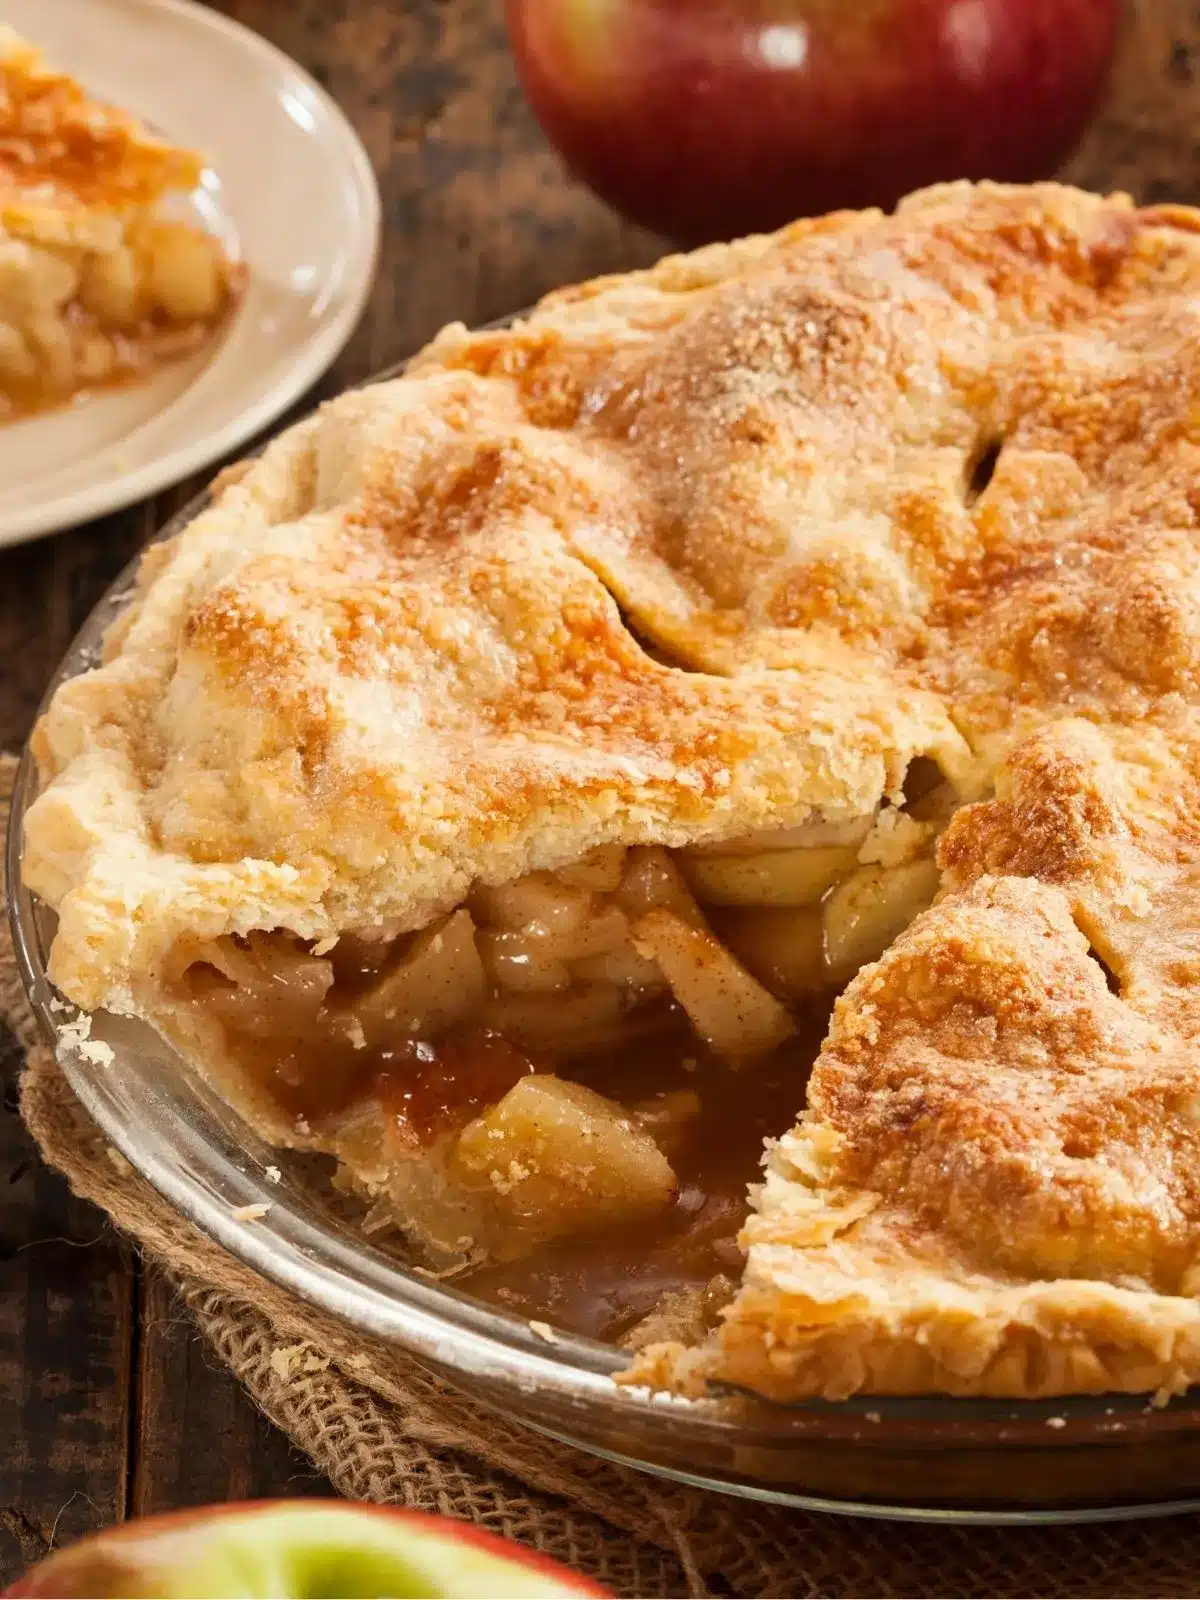
What makes this a double-crust apple pie?
The filling is enclosed between a bottom pastry and a top pastry with small vents. It is different from a crumble-topped pie, a dump cake, or an open tart. The lower crust starts unbaked in this method; there is no separate blind-baking step to fit into the instructions.
You can use homemade pastry or a purchased double-crust pastry intended for a nine-inch pie. Follow any handling directions on the package, especially if it starts frozen. Buying the pastry does not change the apple filling, but it may change the preparation time. Do not assume a deep-dish plate and an ordinary nine-inch plate hold the same quantity.
Ingredients and apple choices
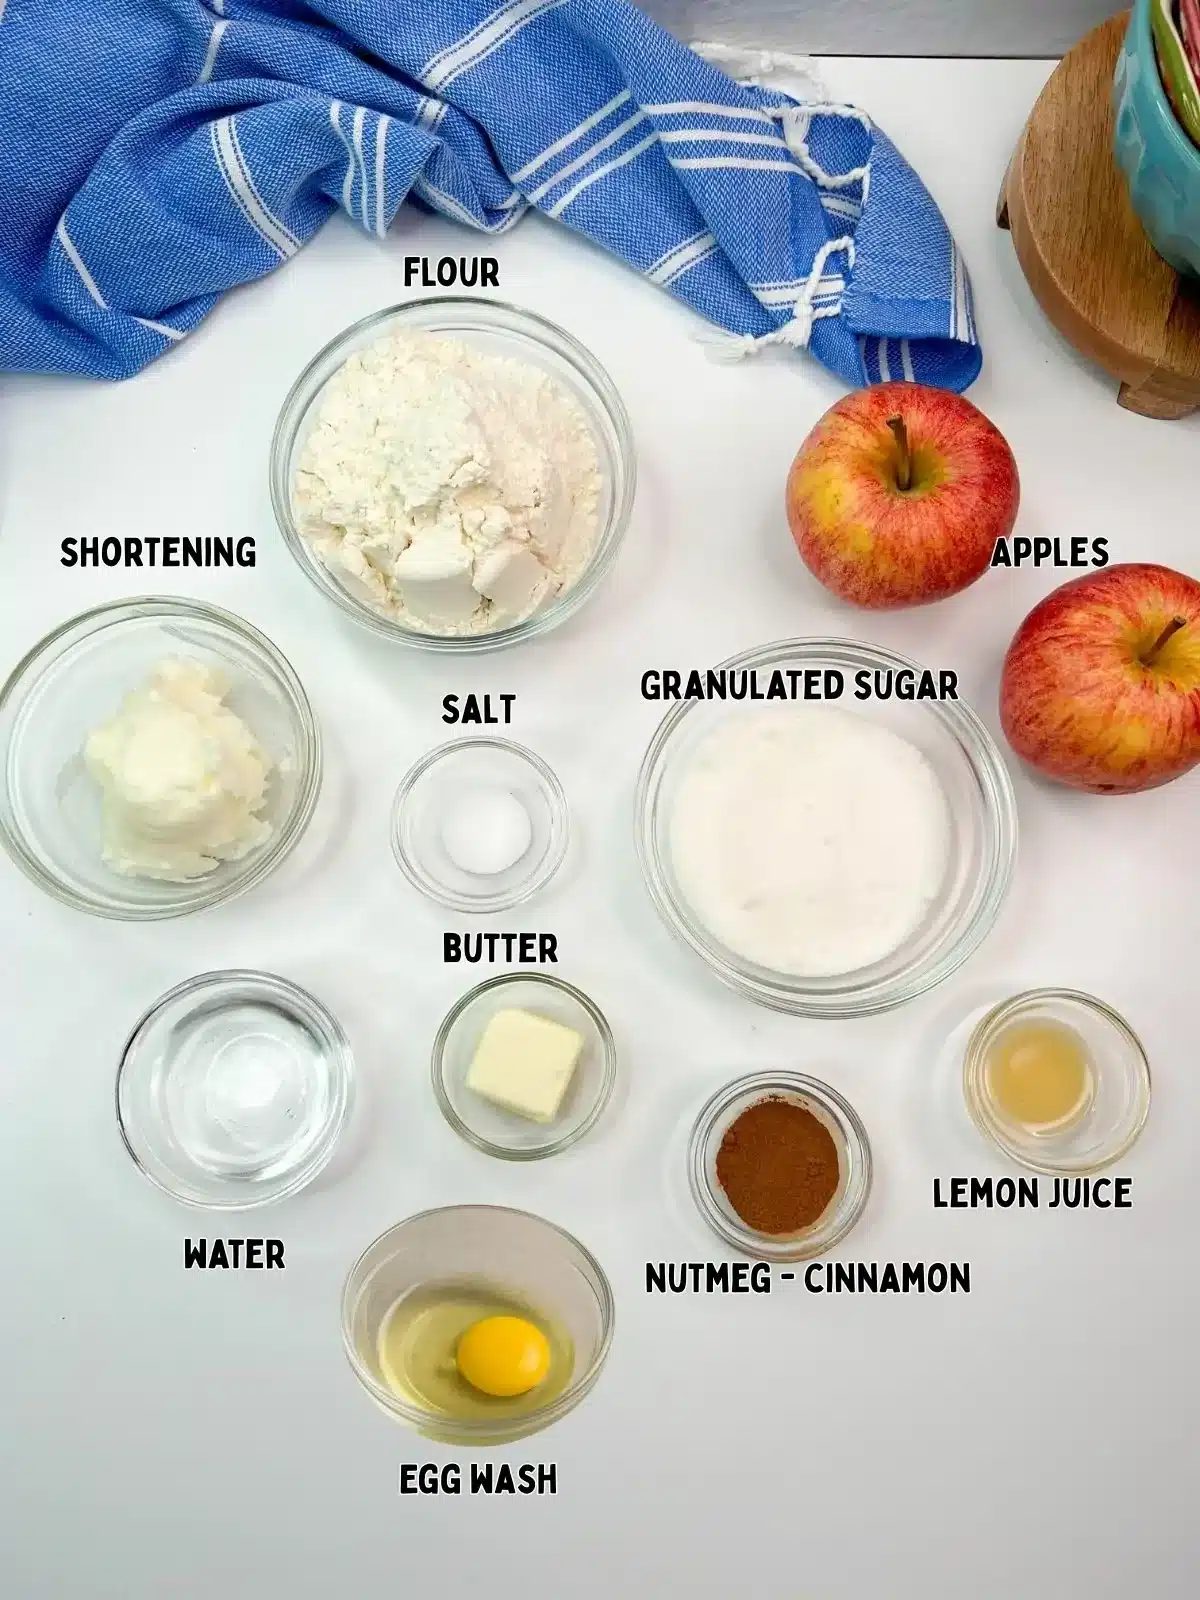
- 6 cups peeled, cored apples, sliced about 1/4 inch thick
- 3/4 cup granulated sugar
- 2 tablespoons all-purpose flour
- 3/4 teaspoon ground cinnamon
- 1/4 teaspoon salt
- 1/8 teaspoon ground nutmeg
- 1 tablespoon lemon juice
- Pastry for a double-crust 9-inch pie
- 2–3 tablespoons butter, cut into small pieces
- Optional egg wash: 1 egg beaten with 1 tablespoon water or milk
- Optional: a little additional sugar for the top crust
Measure six cups after peeling, coring, and slicing rather than judging only by the number of apples. Six medium apples may be a useful shopping estimate, but fruit varies. Combining a tart baking apple with a sweeter firm variety gives more range of flavor than relying on sugar alone. Granny Smith, Honeycrisp, Braeburn, and Pink Lady are familiar options for a filling with recognizable pieces.
Soft or mealy apples can break down differently, and overly thick slices may stay firm after the crust looks finished. Aim for slices around a quarter inch thick and keep them reasonably consistent. You do not need identical shapes; similar thickness is the important part for even cooking.
The flour in the filling is not the same as the flour used to roll pastry. Measure the two tablespoons for the fruit deliberately, then use only enough on the work surface to prevent sticking. Extra flour worked into the pastry can make it harder to handle and less tender. Lemon juice belongs in the apple mixture, while the butter is dotted over the filled crust.
Prepare the pastry without stretching it
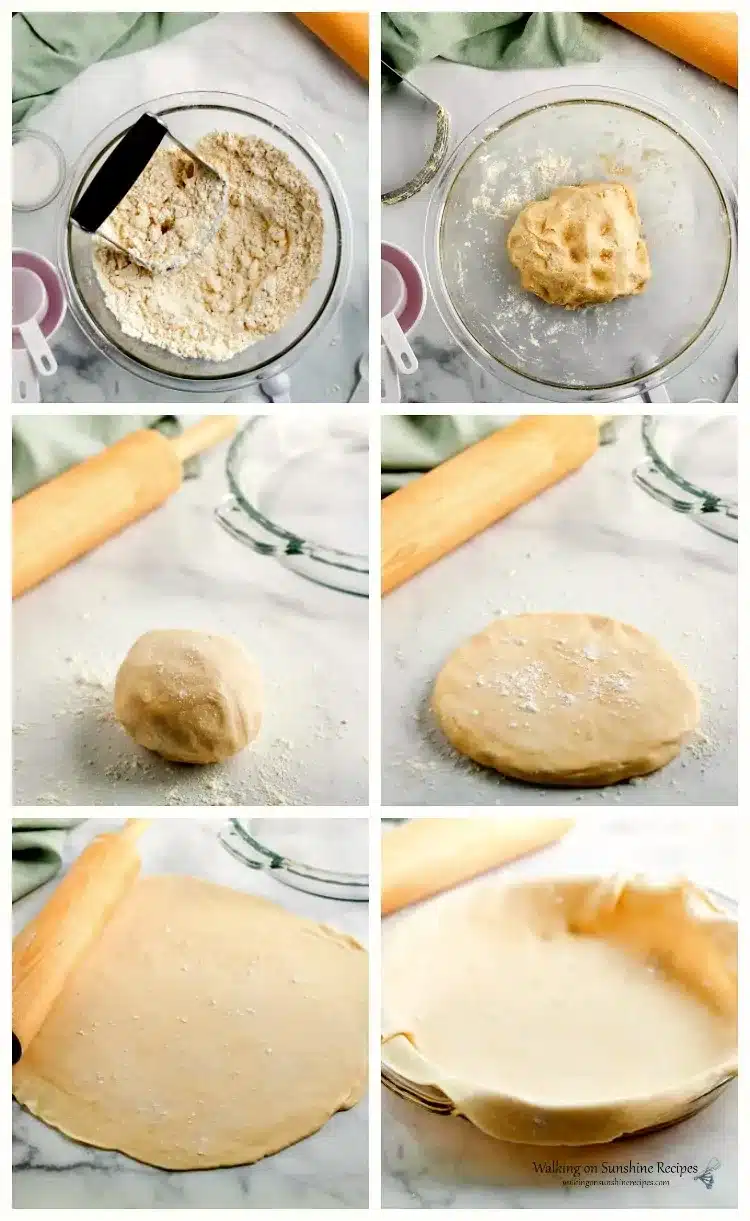
Roll or unfold the bottom pastry according to the dough you are using. Lower it into the pie plate and ease it into the curve between the base and the sides. Stretching it tightly into position can pull the edges inward as it bakes. If the dough becomes very soft and sticky, pause and chill it rather than covering the counter with more flour.
Leave enough edge to seal the top and bottom together. A pie with almost no pastry at the rim is harder to crimp and more likely to leak. Keep the second crust ready but cool while you prepare the apples. Have the butter pieces and a knife for cutting vents nearby so the assembly can move directly from filling to sealing.
Mix and assemble the filling
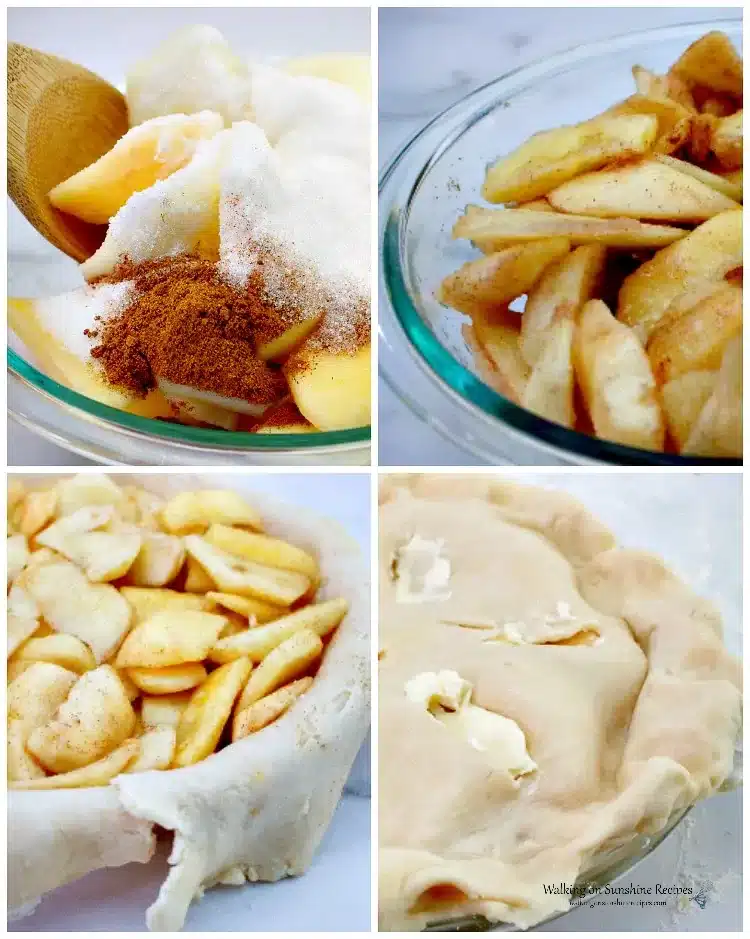
Toss the sliced apples with sugar, flour, spices, salt, and lemon juice until the coating looks evenly distributed. Check the bottom of the bowl for pockets of dry flour. Spoon the apples into the pastry, distributing them across the base instead of leaving a steep mound in the center, then dot the surface with butter.
Lay the top pastry over the apples and bring the edges together. Crimp firmly but do not squeeze all the thickness out of the rim. Cut several small vents through the top so steam has a way out. These openings also let you check the filling later without tearing a large hole in the crust.
Optional egg wash for a golden finish
Beat one egg with one tablespoon water or milk. Brush a thin layer over the top pastry, taking care not to leave puddles in the folds. Add a little sugar if you like a sparkling surface. The wash is a finishing step and does not go into the apples or replace any of the filling ingredients.
If you prefer to omit it, the pie can still be baked; the surface will simply look different. Keep the raw egg mixture away from finished food, and clean the brush and bowl afterward. The FDA’s flour-handling guidance also explains why raw pastry and batter should not be tasted before baking.
Bake at two temperatures
Start the assembled pie in a preheated 425°F oven for fifteen minutes. Then lower the setting to 375°F and continue for approximately thirty minutes. The second stage can take longer depending on the apples, pastry, plate, and oven. Keep the sequence clear: the higher temperature is the opening stage, not a second bake to add at the end.
Look for a golden crust and tender apples rather than using one minute count as a guarantee. A thin knife inserted carefully through a vent should meet softened fruit rather than hard resistance. If the rim is becoming dark before the filling is ready, protect the edge with a suitable pie shield or foil and continue checking the center.
A rimmed baking sheet underneath the pie can catch drips, but use bakeware suited to your oven and avoid abrupt temperature changes with glass. Let the finished pie rest on a cooling rack. Cutting immediately releases very hot juices and makes it difficult for a slice to hold together.
Recipe card
PrintHomemade Apple Pie with a Golden Double Crust
Homemade apple pie brings together tender fruit, warm cinnamon, and a golden double crust. This version starts with uncooked sliced apples, so you can assemble the filling in one bowl while the oven heats. A little flour helps bind the juices, and small pieces of butter sit over the fruit before the top pastry goes on.
- Yield: 8 slices 1x
- Method: Baking
- Cuisine: American
Ingredients
- 6 cups peeled, cored apples, sliced about 1/4 inch thick
- 3/4 cup granulated sugar
- 2 tablespoons all-purpose flour
- 3/4 teaspoon ground cinnamon
- 1/4 teaspoon salt
- 1/8 teaspoon ground nutmeg
- 1 tablespoon lemon juice
- Pastry for a double-crust 9-inch pie
- 2–3 tablespoons butter, cut into small pieces
- Optional egg wash: 1 egg beaten with 1 tablespoon water or milk
- Optional: a little additional sugar for the top crust
Instructions
- Heat the oven to 425°F. Fit the bottom pastry into a 9-inch pie plate without stretching it.
- Toss the sliced apples with the sugar, flour, cinnamon, salt, nutmeg and lemon juice. Spoon into the prepared crust and dot with the butter.
- Lay the second pastry over the filling. Seal and crimp the edges, then cut vents in the top. Brush lightly with the optional egg wash and add a little sugar if desired.
- Bake at 425°F for 15 minutes. Reduce the oven to 375°F and continue for approximately 30 minutes, adding time if necessary until the crust is golden and the apples are tender.
- Let the pie cool on a rack before slicing so the hot filling has time to settle.
Notes
Baking starts with 15 minutes at 425°F, then approximately 30 minutes at 375°F; judge the final bake by apple tenderness and crust color. Preparation, extra baking if needed and cooling are additional.
The optional egg wash is separate from the apple filling. This double-crust method does not call for blind-baking the bottom crust.
Serving and preparation ahead
Serve the pie on its own or add a scoop of raspberry ice cream for a tart berry contrast. Let the slice cool to a comfortable eating temperature before adding ice cream if you want the scoop to keep its shape. Use a sharp knife and a broad server so the bottom crust is supported on its way to the plate.
If planning a larger dessert table, separate the baking schedule from the serving schedule. The pie needs cooling space as well as oven space. Make the pastry ahead if that suits your recipe, and keep it covered and chilled until assembly. Avoid leaving raw egg wash or assembled pastry sitting out while you prepare unrelated dishes.
Refrigerate leftover pie, covered, and use it within four days. Keep any ice cream or other topping separate. Reheat an individual slice gently in the oven if you want the pastry warm again; microwaving is convenient but softens the crust. For more choices beyond apple desserts, see the recipe index.
Frequently asked questions
Should I cook the apples first?
Not for this method. The apples go into the crust raw and sliced evenly. A filling that has already been cooked behaves differently, so do not add a precooking stage and expect the same timing without adjustment.
Why is the filling runny?
Very juicy fruit, too little thickener, an underbaked filling, or slicing while the pie is still hot can all contribute. Measure the flour, check that the apples are tender, and allow cooling time before deciding the filling has failed.
Do I need to blind-bake the crust?
No. This is an assembled double-crust pie baked from raw pastry. Blind-baking the lower shell is a different method and is not included in the recipe sequence here.
Can I use store-bought dough?
Yes. Choose enough pastry for the bottom and top of a nine-inch pie and follow its handling directions. Keep the filling quantities the same unless your plate size changes.
Conclusion
An even apple slice, a well-sealed crust, and a patient cooling period make this homemade apple pie easier to serve. Follow the two oven temperatures in order, check the actual fruit, and treat the egg wash as an optional finish rather than a missing filling ingredient.
Try next: The Best Pineapple Pound Cake Recipe | Raspberry Lemon Poke Cupcakes: Tart, Sweet and Moist | Brownie Ice Cream Sandwiches: Fudgy Homemade Summer Treat | Strawberry Shortcake Cake Recipe